Name the bottleneck
If the drain feels slow, the straw is the limit. If the walk back is the problem, the merchant distance is.

Straw Upgrades, Treasure Locations, Multiplayer & Beginner Guides
Explore the Mana version of Drink the Ocean. Learn how to drain the sea, uncover hidden treasures, upgrade your straw, and explore the ocean floor with friends. Every page here is written against the browser build on mana.gs and marks anything that could not be verified instead of guessing.
Independent fan-made wiki. Not affiliated with Mana.
Every published page, ordered by the date it was last checked against the Mana build. All nine were reviewed on 15 November 2026, so the order follows the reading sequence rather than a pretend update history.
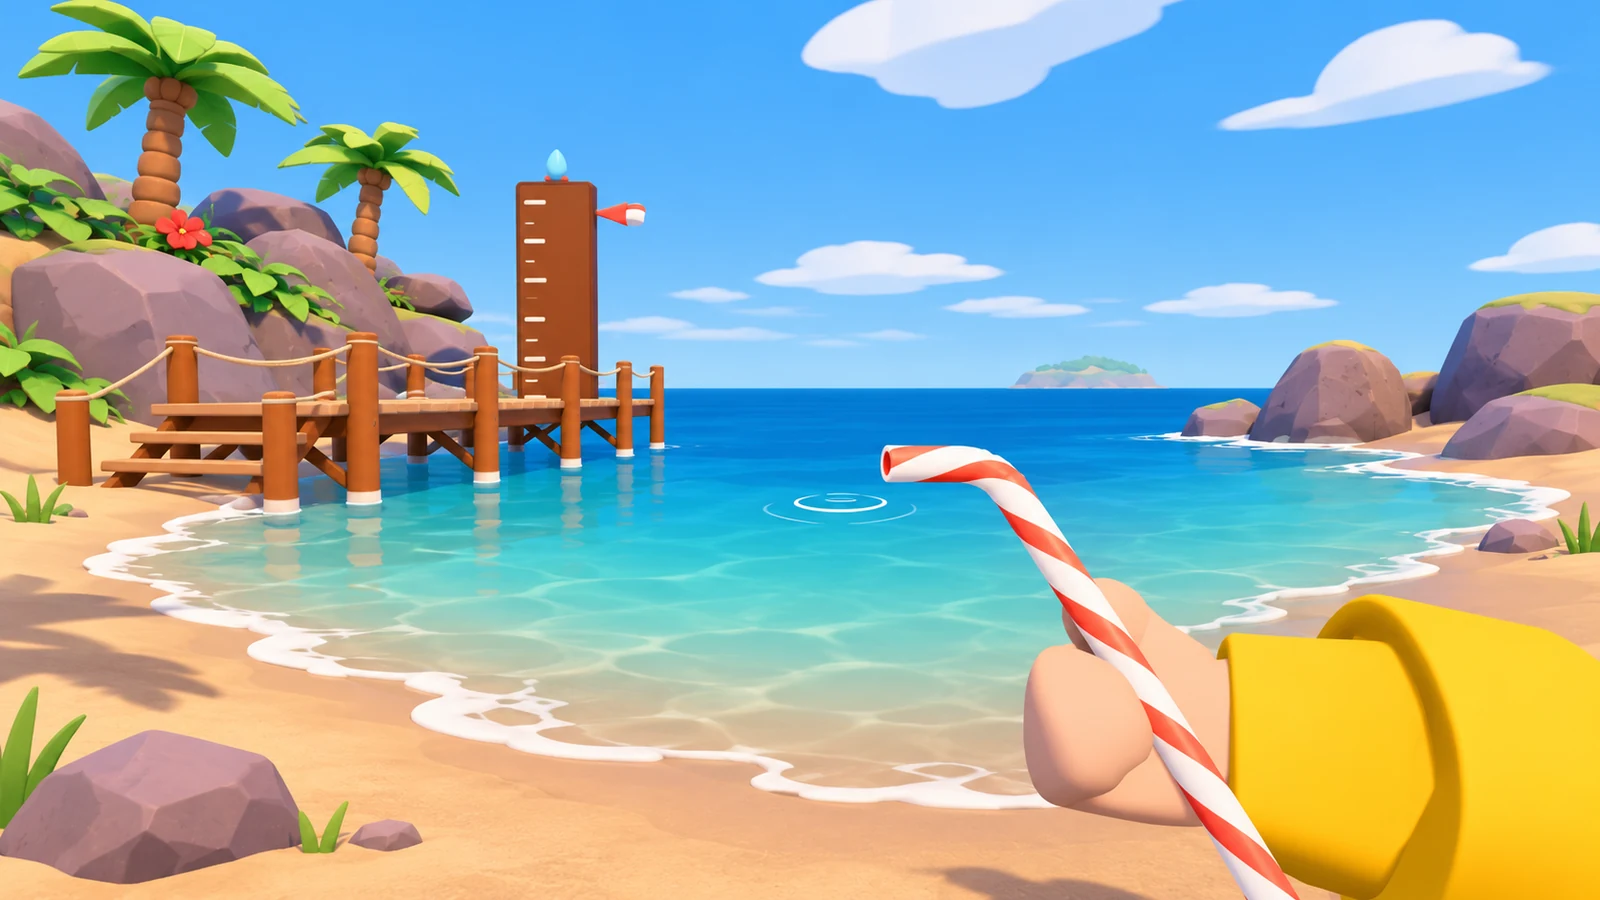
Open the Mana play page in a desktop browser, start a new game, take the free straw, walk to the waterline and hold drink. Sell the first treasure you uncover to buy a stronger straw.
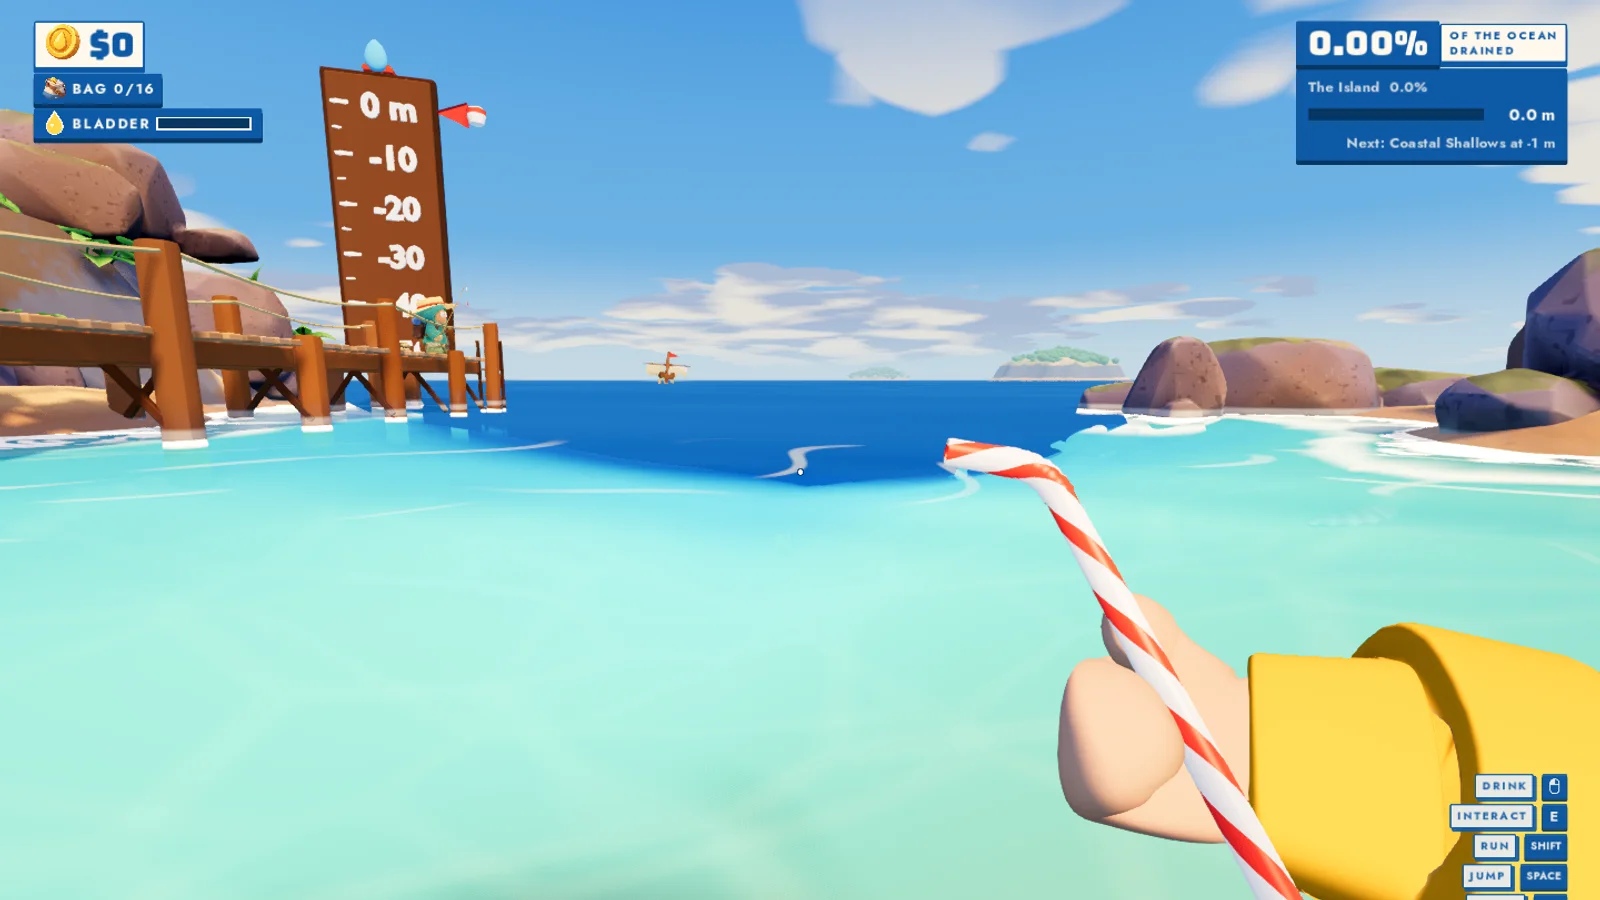
A first-session plan for the Mana build: read the depth and drain readouts, bank a full bag before you wander, and spend your first money on a straw instead of a longer walk.
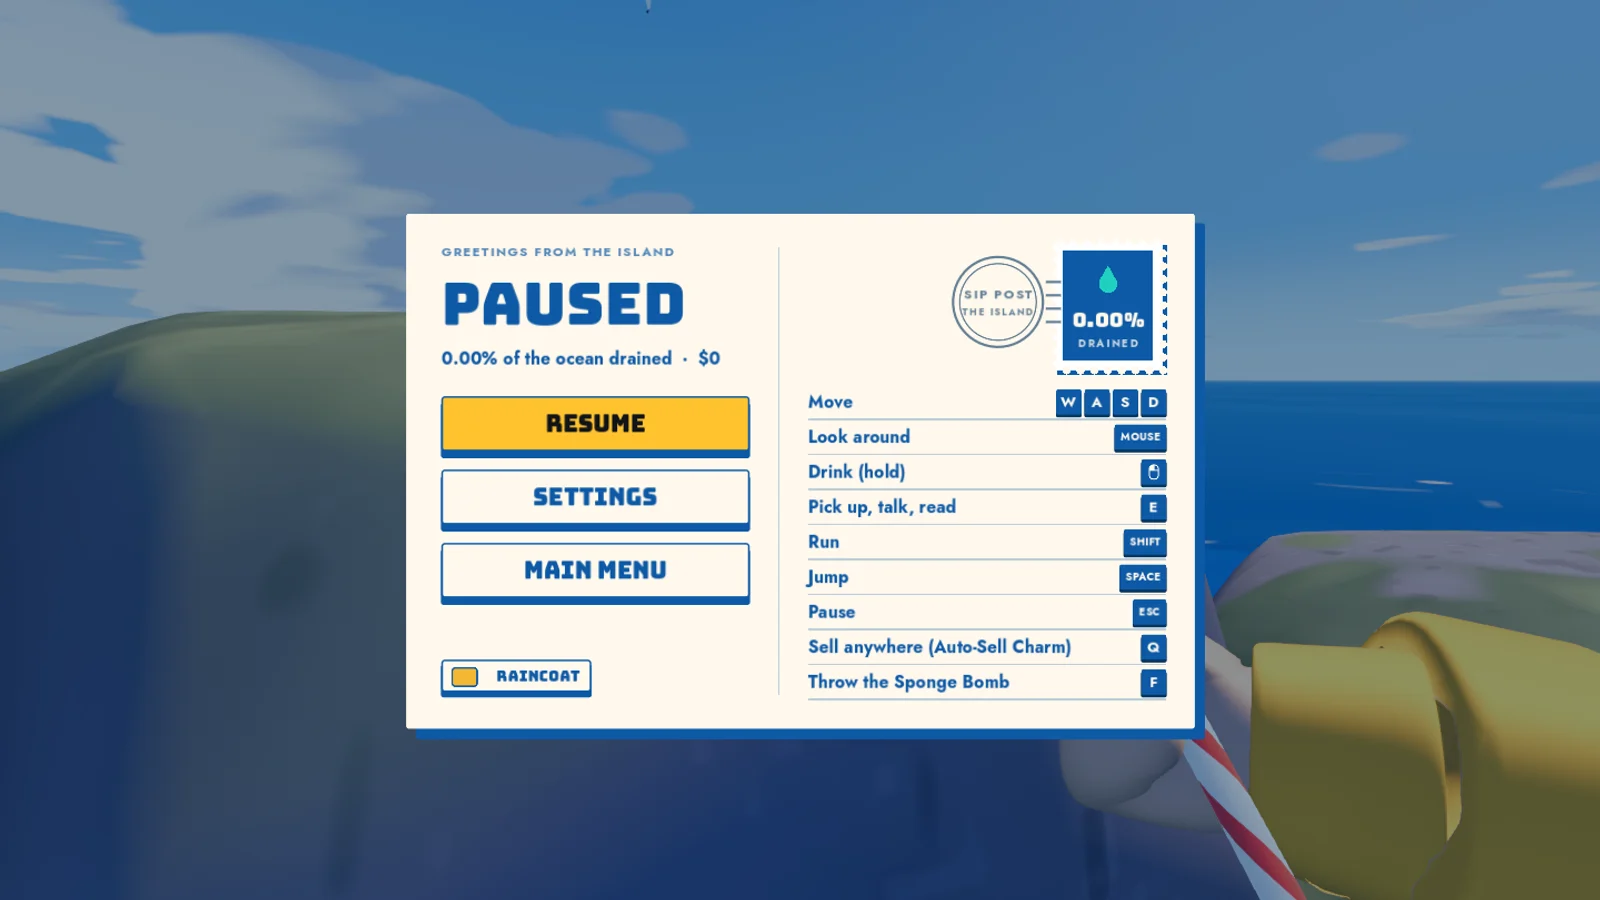
Every control in the Mana build of Drink the Ocean, taken from the in-game pause menu: WASD to move, mouse to look, hold the left button to drink, E to interact, plus the sell and throw shortcuts.
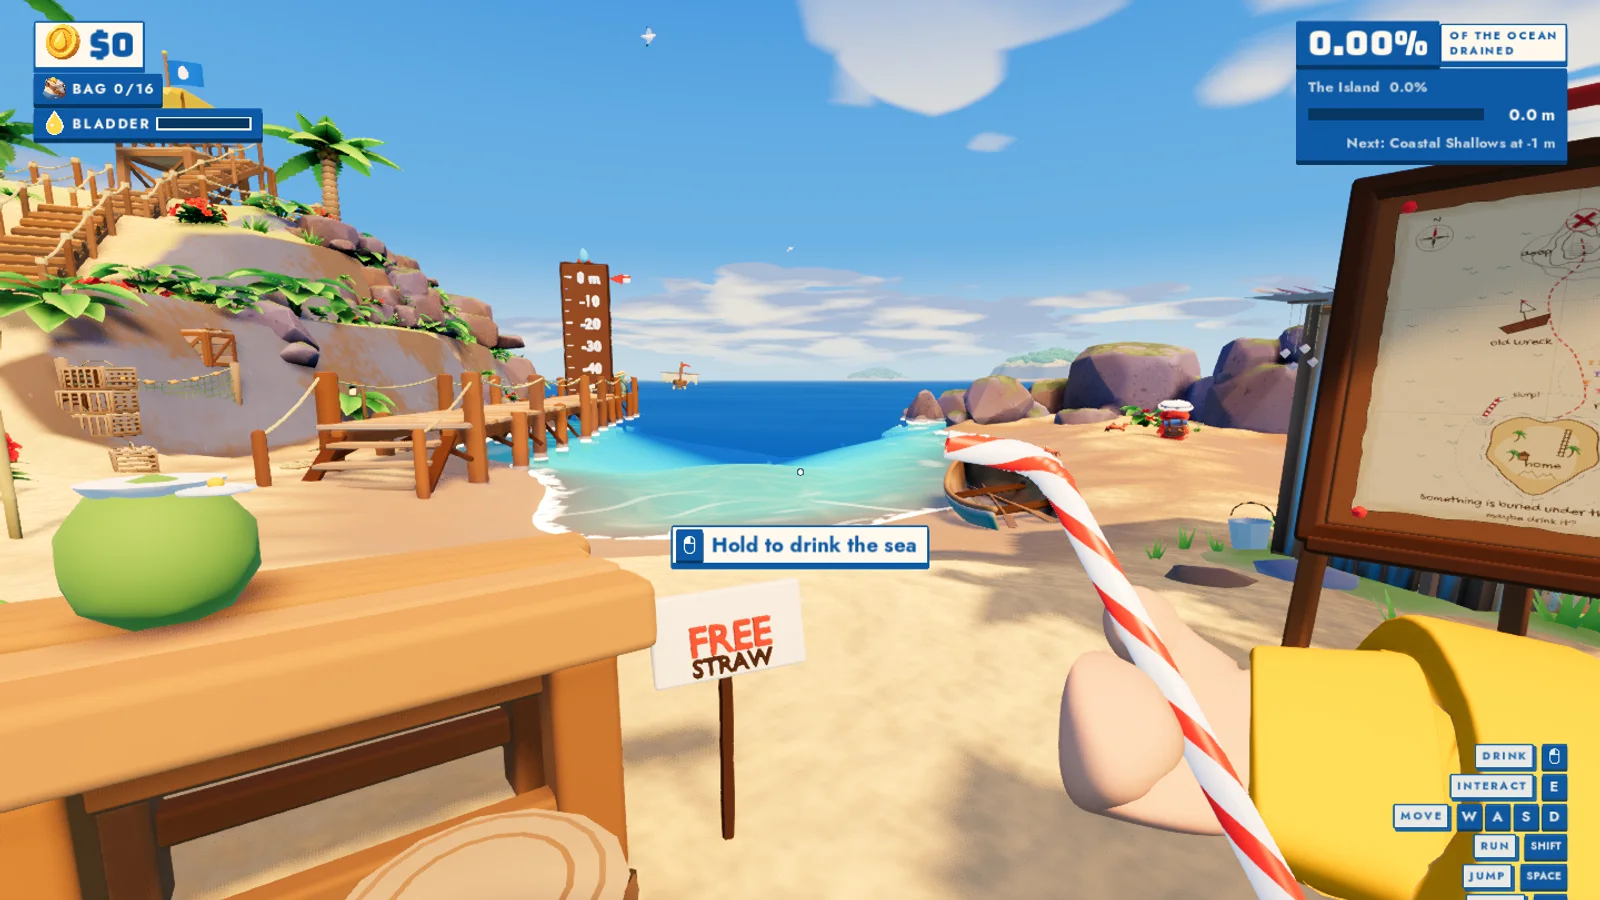
Straws are the only upgrade in the Mana build of Drink the Ocean: you get the first one free at spawn, then buy stronger ones from the merchant with treasure money. Prices and tiers remain unverified.
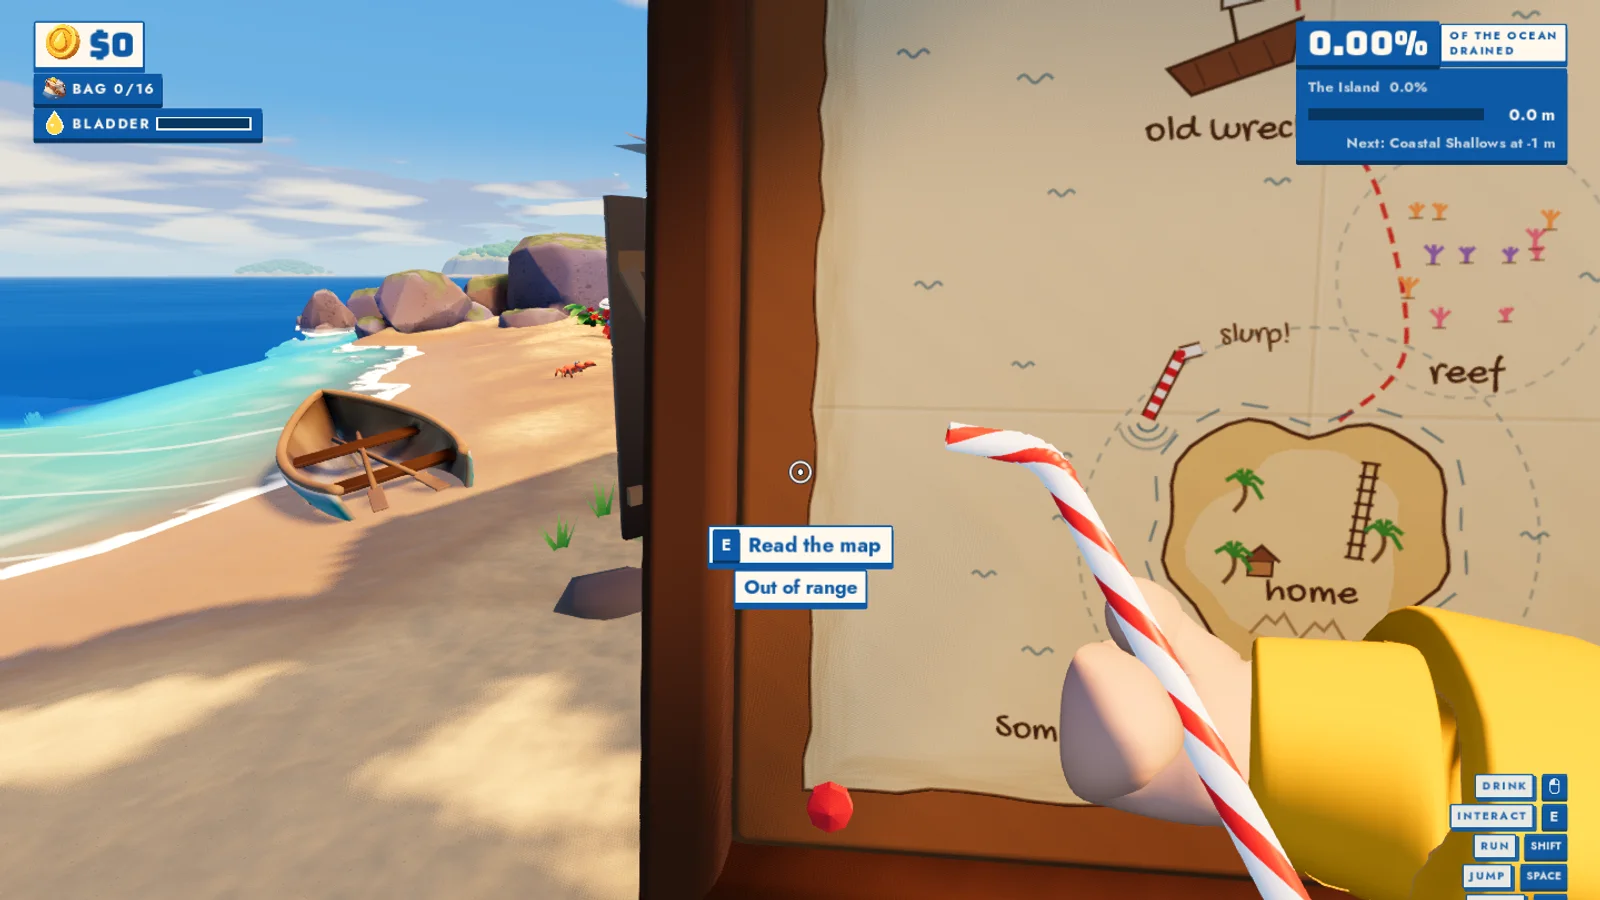
The Mana build labels its world on a map board beside your spawn: home, reef and old wreck, plus a depth gauge that runs from 0 m down past -40 m and a HUD line naming the next area.
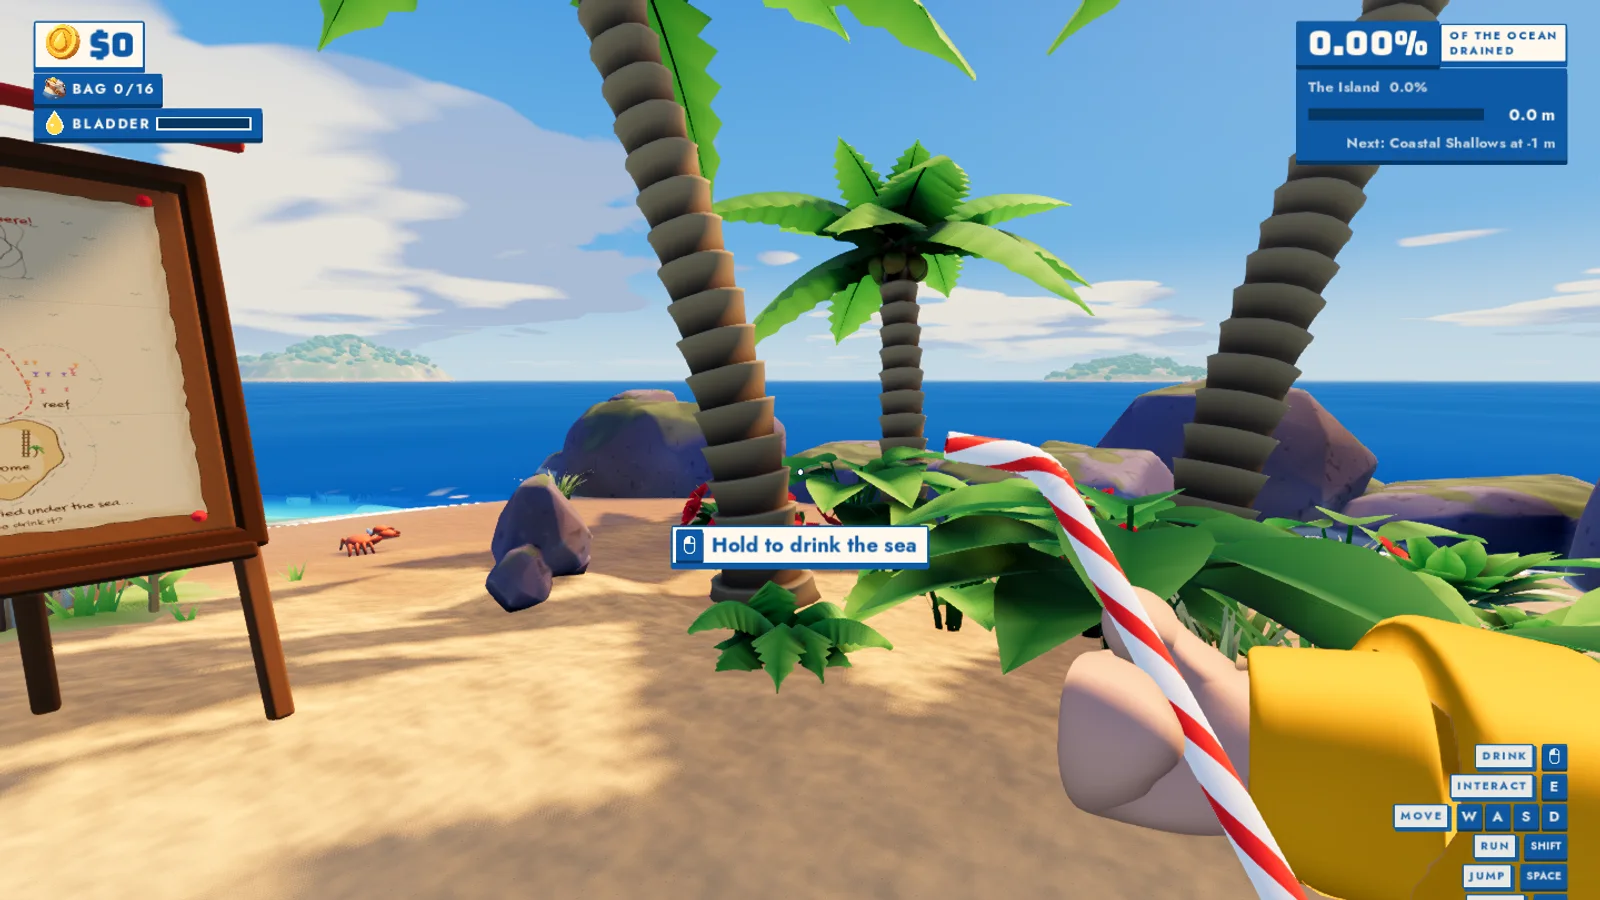
The shipwreck is the long-term target of the Mana build: the official description says the sea has to drop far enough to reach it, and the in-game map already labels an old wreck before you can walk there.
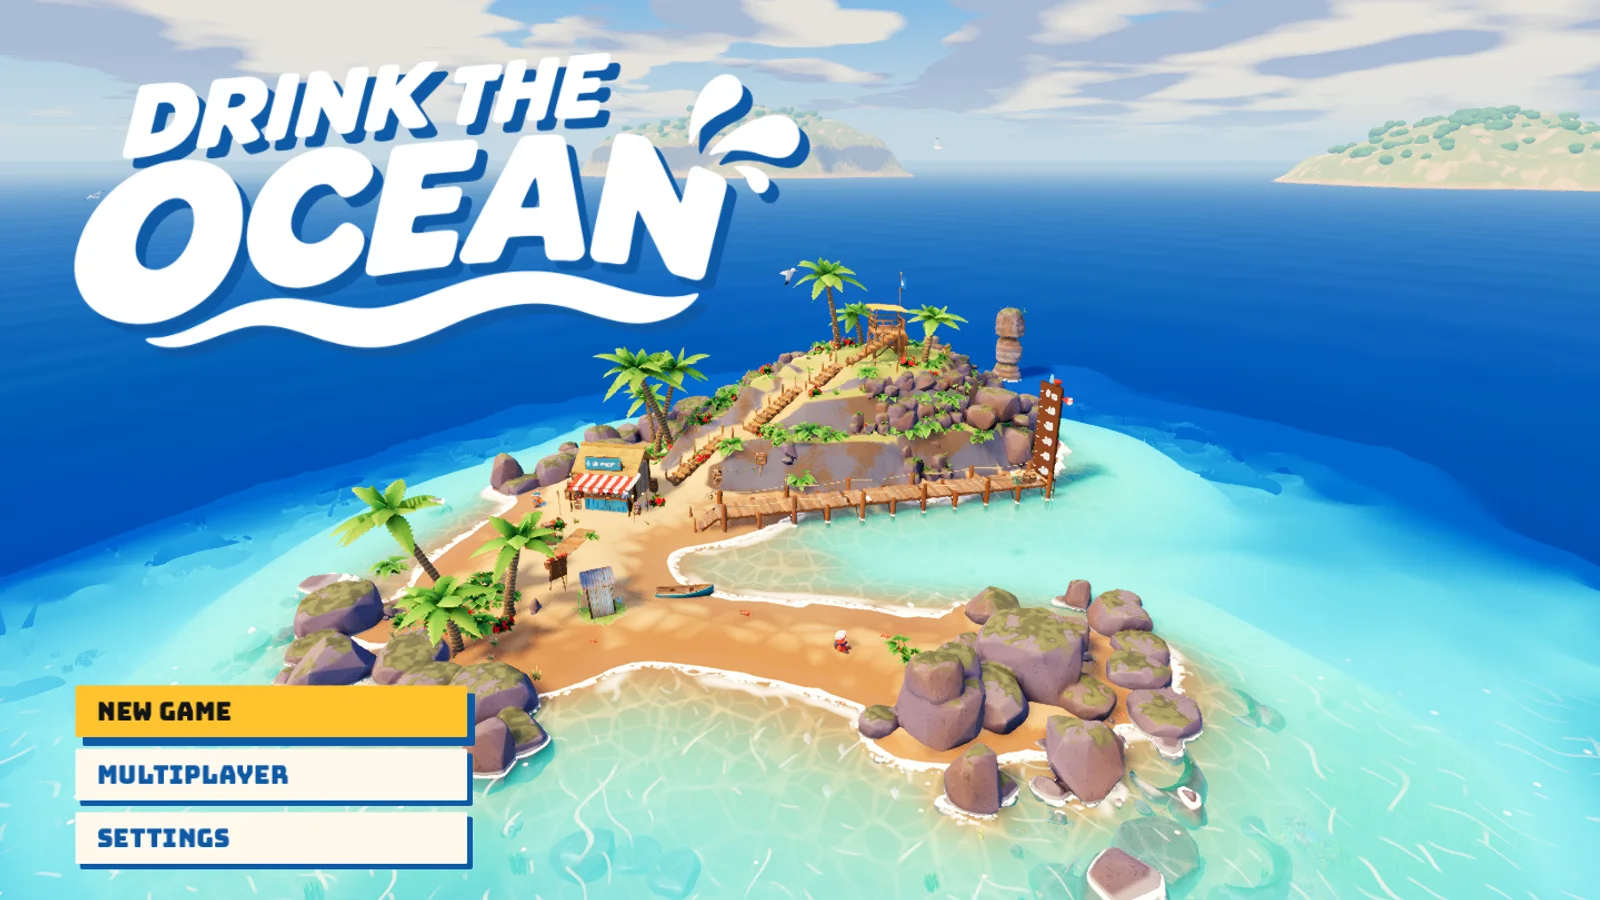
Mana lists Drink the Ocean as co-op for one to four players on desktop browsers, and the main menu has a MULTIPLAYER entry. Room creation, shared progress and reconnecting are not documented.
Drink the Ocean runs only in a desktop browser on Mana: keyboard and mouse, WebGPU with a WebGL fallback, no install and no sign-in to reach the menu.
Two different games share the name Drink the Ocean. The Mana build is the browser game covered here; the Playgama listing is a separate title by a different developer, so its upgrades and numbers do not transfer.
One beginner route, one upgrade explainer, one landmark guide and one co-op guide. Together they cover the questions that bring most players to a wiki.
A first-session plan for the Mana build: read the depth and drain readouts, bank a full bag before you wander, and spend your first money on a straw instead of a longer walk.
Straws are the only upgrade in the Mana build of Drink the Ocean: you get the first one free at spawn, then buy stronger ones from the merchant with treasure money. Prices and tiers remain unverified.
The shipwreck is the long-term target of the Mana build: the official description says the sea has to drop far enough to reach it, and the in-game map already labels an old wreck before you can walk there.
Mana lists Drink the Ocean as co-op for one to four players on desktop browsers, and the main menu has a MULTIPLAYER entry. Room creation, shared progress and reconnecting are not documented.
The first session has a single goal: turn one bag of treasure into one better straw. These five steps match the prompts the Mana build actually shows you.
First-session goalFinish one loop from the free straw to a paid upgrade, and know whether drain speed or travel time is your bottleneck.
For a player who has not opened the game yet.
The HUD shows $0, BAG 0/16 and 0.00% of the ocean drained.
For a player who spawned but has no tool yet.
The striped straw is visible in first person and the prompt changes to Hold to drink the sea.
For a player whose drink button seems to do nothing.
The Out of range prompt disappears and the depth readout starts to move.
For a player with exposed seabed in front of them.
The bag counter is close to full and the ground behind you is empty.
For a player ready to convert treasure into drain speed.
The same waterline drains faster for the same amount of holding than it did before.
Drink at the same waterline for the same duration before and after an upgrade. Moving to a new spot at the same time hides the result.
Open the full beginner guideIncludes the HUD readouts, the bag limit and the mistakes to skip.The merchant window was not opened and the shipwreck was not reached during this research pass, so the numbers that live behind them are missing on purpose.
See how sources are usedStraw prices, treasure values and the wreck depth stay unpublished until the game or a recorded session shows them.
Every claim is tied to the Mana build observed on 2026-11-15, not to another game with the same name.
Facts come from the official listing or from a recorded session; both are listed at the bottom of each page.
Straw prices, treasure values and wreck depth are published only when the game shows them.
Each page carries the date it was last checked against the live build.
Ordering reflects two things only: whether the item is confirmed to raise drain speed, and whether its cost is known. Anything with an unverified effect ranks below anything with a confirmed one.
Costs nothing, so it is not a spending decision: skip it and the loop cannot start.
Price unverified. Read it in the shop window before committing a bag of treasure.
Whether the binding works before you own the charm was not tested.
Do not spend on either before a straw upgrade; their value is undocumented.
Position one is free and mandatory, position two is the only confirmed drain upgrade, and the last two are items whose effects were never verified. It is not a tier list of straw names.
Four places the game labels itself, from the spawn island to the wreck behind the depth gate. Nothing here is a community nickname.
The island you spawn on, drawn in the centre of the in-game map board and labelled home.
Spawn point. Walkable from the first second.
Free straw sign, merchant stall, map board, depth gauge, shoreline.
Observed in the Mana build on 2026-11-15.
The first named area in the HUD, shown on a fresh save as Next: Coastal Shallows at -1 m.
Drop the sea to -1 m, the target the HUD names.
Not documented; only the milestone label is verified.
HUD text observed on a fresh save, 2026-11-15.
The ring of water and rock drawn around the home island on the map board.
By draining; the board shows it surrounding the island.
Treasure appears on exposed reef ground as the water drops.
Labelled on the map board, 2026-11-15.
The shipwreck the official description ties to the end of the drain, labelled old wreck on the map board.
Water must drop far enough to reach it; the exact depth is unverified.
Undocumented. The board note says something is rusted under the sea.
Map label plus the official listing description.
Two straws and three items, all confirmed to exist. The filter separates what you own at spawn from what you have to buy.
Move from this table into the straw upgrade guide.
| Auto-Sell Charm | Skip the walk back when the bag fills far from the stall. | Whether the binding works before you own the charm. | Decide if the walk back or the straw is the bigger time cost. |
|---|---|---|---|
| Merchant Straws | Raise drain speed so the next depth milestone arrives sooner. | The price in your own shop window; no price is published here. | Re-test the same waterline for the same time after buying. |
| Raincoat | Unknown. The badge is confirmed; the effect is not. | Whether it changes drinking, movement or damage. | Treat it as cosmetic until the game says otherwise. |
| Sponge Bomb | Unverified; the control exists but the effect is undocumented. | What the bomb does in your own session before relying on it. | Ignore it until a patch note or a session explains it. |
| Starter Straw | Learn the loop and measure how slow a starting straw is. | That the straw is in hand before you walk to the water. | Bank one bag of treasure and buy the next straw. |
Both choices spend the same resource: time on the waterline. Three checks tell you which one moves the depth readout faster this session.
If the drain feels slow, the straw is the limit. If the walk back is the problem, the merchant distance is.
A full sixteen-slot bag left unbanked is money you cannot spend on either option.
Compare the shop price with what you are carrying. If you cannot afford it, exploring is not a choice, it is the next step.
You can afford it without emptying the bag.
The same waterline feels slow with the current straw.
You want the next depth milestone more than a longer walk.
The price is out of reach this trip.
The receding water has exposed new ground worth checking.
The bag still has room.
Upgrade when drain speed is the limit; explore when the new seabed is the reward.
Three symptoms cover almost every early-session problem, and each one has a different fix. Check the prompt on screen before you change anything else.
Holding drink while aiming at distant water produces a message instead of draining anything.
Possible causeThe straw has a range. Standing on the beach and looking at the sea is outside it.
The starter straw moves the ocean percentage so slowly that two decimal places hide it.
Possible causeThe official description says first sips barely make a ripple. In a test session sixteen seconds of drinking left the readout at 0.00%.
The stall sits on the spawn beach, which stops looking familiar once the coastline changes.
Possible causeThe shoreline moves as the sea drops, so landmarks that worked on the first trip do not survive.
Drink, collect, sell, upgrade. Each stage ends with something you can see, which is how you know the cycle is working rather than just passing time.
The straw only works within range, so the first job is standing in the right place.
Walk until the Out of range prompt disappears.
The bindings call it Drink (hold) for a reason.
The gauge post and the HUD number move together.
The sea pulls back far enough to expose ground you could not stand on before.
Treasure appears on the exposed ground. Sixteen slots is the starting limit, so the trip ends when the counter does.
The counter is close to full and nothing valuable is left on the ground behind you.
The merchant turns treasure into money, and money into a straw that drains faster.
Buy when the drain speed is the thing slowing the next milestone.
Keep it when the next straw is out of reach or a new area is about to open.
Test the new straw at the same waterline before you change your route.
The cycle is complete when each stage left evidence you can act on.
Three creator recordings, each checked against a local capture of the Mana build. They show routes and co-op in motion; they are not a source for current prices.
You drink the ocean through a straw. Every sip lowers the sea, exposed seabed can be walked on and looted, and the treasure you collect is sold to the merchant for stronger straws until the water drops far enough to reach the shipwreck.
No. Drink the Ocean Wiki is an independent fan-made guide. The Mana listing at mana.gs/drink-the-ocean is the official page for the game, and Mana controls availability and updates.
Hold the left mouse button at the waterline. Standing too far back produces an Out of range prompt, and tapping the button instead of holding it will not drain anything.
We could not verify a Steam release for the Mana version. A store search returned no matching title, which does not prove that no game with this name exists anywhere, only that this build has no confirmed Steam page.
One to four. The Mana listing sets the mode to co-op with 1–4 players, all on desktop browsers with keyboard and mouse, and the main menu has a MULTIPLAYER entry.
Because they were not observed. The merchant interface was not opened during the research pass, and copying numbers from another game with the same name would be wrong rather than helpful.